12×24 tiles are an extremely popular large format tile size. However, working with them may be a little different than what you are used to.
This post is going to cover some basics on:
- 12×24 tile patterns and offsets
- Grout joint size
- Cutting
- and much more!

Estimated reading time: 8 minutes
Table of Contents (click to expand)
They aren’t actually 12×24 inches
For starters, we need to clear up a common misunderstanding. 12×24 tiles are not twelve inches wide nor are they twenty-four inches long.
In fact, the vast majority of “12×24” tiles are measured using the metric system, which almost the whole rest of the world uses.
Therefore, the metric measurements are 30cm x 60cm. This converts to 11 13/16ths x 23 5/8 inches. Most, but not all, 12×24 tiles on the market will be this size.
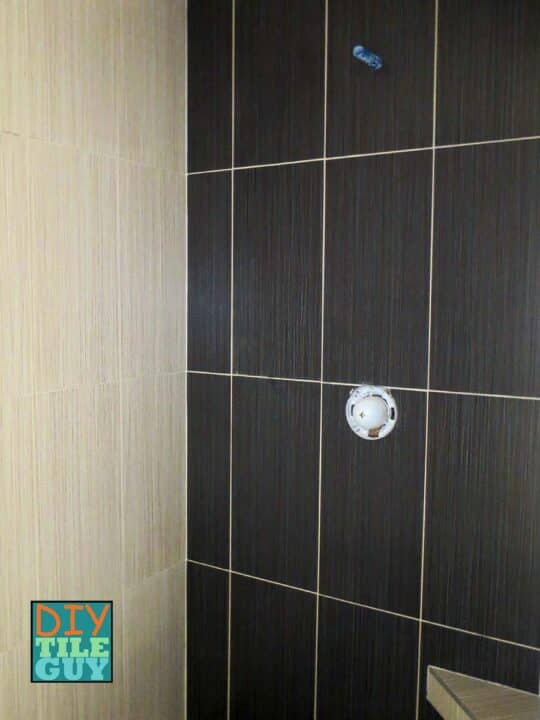
12×24 Tile Patterns
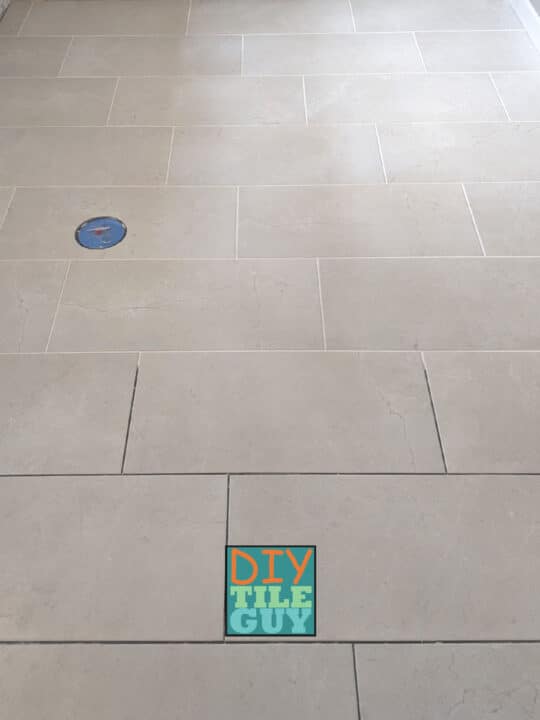
All large format tiles (large hexagon tile are an exception) can be installed in a straight-lay pattern where the edges all match up.
However, with rectangular tiles, such as 12×24’s, it’s quite common to install them in an offset pattern.
But a word of caution: tile industry standards, and many manufacturers, recommend against a 50% offset pattern. [1,3]
Why? I’ve talked before about why a 50% offset is a bad idea and why you want to install your 12×24 tiles with a 33% offset instead. It has to do with the tile warpage that a lot of these big 12×24 tiles have.
So, check out the other post to learn more but here are two examples of a 33% offset tile pattern.
33% stairstep offset pattern
33% zipper offset pattern
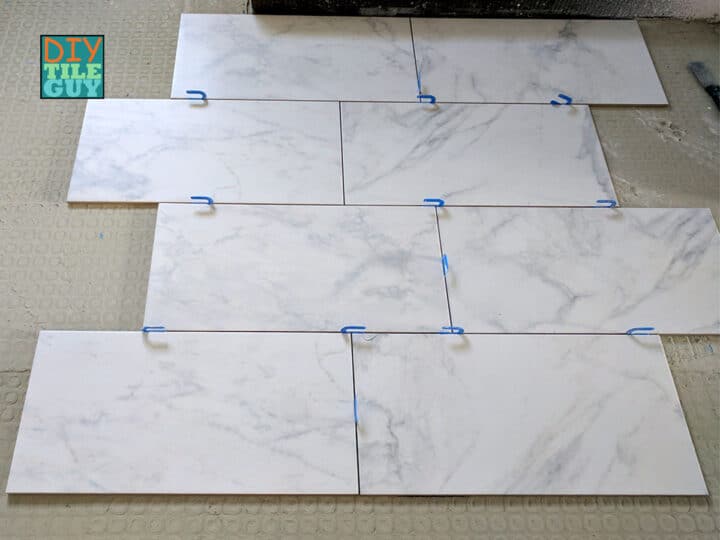
You can also install tiles in a random tile pattern and have them honor the 33% maximum offset rule-of-thumb.
Should tiles be vertical or horizontal?
Whether to install tiles vertically or horizontally is a design decision. However, in general:
Horizontal orientations are:
- more of a traditional look
- can make a space look larger or wider; whereas
Vertical orientations:
- can be more of a modern look
- can make a space look longer or taller
So, the proper orientation will depend on your room and the look that you are wanting to achieve.
Ok. But I really want my 12×24 tiles installed with a 50% offset
If you understand the risks and the difficulties of why a 50% offset is not recommended then here’s what to do:
Make a small mockup of tile at 50% using your tile. Then grout this mockup. If you, the end user, are OK with what you see then it’s OK to proceed with a 50% offset.
Remember, there are two ways to layout a 50% offset and most only know one of the ways.
12×24 tile grout joint size
There is a complicated formula for calculating the correct grout joint size for your tile. But to keep things simple, your grout joint should be in the range of 1/8-1/4 inch for many of the 12×24 tile installations. [2,3]
Best thinset mortar for large format tiles
Your choice of thinset is important for 12×24 tiles. You want to make sure that you choose a modified mortar meeting ANSI A118.4. [3]
Additionally, look for words like medium bed, LFT, LHT, or simply “large tile” on the bag. Make sure to mix your mortar properly and follow my tips for small batch mixing, as well.
Finally, selecting the correct trowel size is critical, as well.
Floor Flatness for 12×24 tiles
Bigger tiles require flatter floors. Tile industry standards say that your floor should not deviate more than 1/8 inch in 10ft for large format tile. [3]
Since most floors aren’t that flat it means that you will have to do some extra work to get it flat enough before you install your tile underlayment.
Self-leveling a floor for tile is one way to help flatten it. You can also watch my Youtube video which shows an alternate technique for flattening floors. This one is better if you are spot-patching.
The flatter your floor is, the easier it will be to tile over it.
Tile Leveling Clips for Large Format Tiles
I recommend using tile leveling systems for installing 12×24 tiles and larger.
Leveling clips don’t get you out of flattening your floor. They aren’t a short cut for some other step.
But they can help with the installation and they may even help bend the tiles slightly. Look into using them. I’ve been surprised by how much I’ve come to rely on tile leveling systems for my installs.
How to cut 12×24 tiles?
You pretty much need an electric tile saw to cut large format tile cutters.
Manual score & snap cutters
These types of cutters will cut hard, thick porcelain tiles but you have to buy one of the really expensive versions.
The kind you see at the box stores don’t stand a chance. Further, if you need to cut notches or trim a bit off the end the manual cutters won’t perform those tasks.
Electric Grinders
Handheld electric grinders with diamond blades work well for cutting porcelain tiles. Some cuts, such as round holes, will cut much easier with this type of tool.
While it’s a nice tool to have they require that whoever is using them have some competence with tools. So this is where you have to rate your own skills. It’s also why I think a tile saw is more predictable.
Wet saws
Wet tile saws are going to be your best bet for being able to consistently and predictable cut large format tiles. And, they are the most expensive too.
For cutting 12×24 tiles, you’ll want one that cuts 24-inches long. The Dewalt D-24000 is a tile setter favorite. Also, I reviewed the less expensive Delta tile saw in 2020. I still use this saw today. Finally, Harbor Freight has a 24-inch saw that gets good reviews.
One additional option is to purchase the cheaper tabletop saws that home improvement stores carry. I don’t have a lot of experience with these saws but can be useful for longer tiles, especially porcelain plank tiles.
Is there more waste with larger tiles?
Yes, there is definitely going to be more waste with bigger tiles. Generally, you’ll want to order 10-20% extra to have on hand.
This post covers how to calculate square footage with 12×24 tiles.
FAQ about large format tiles
Yes, any tile that measures 15-inches or longer in at least one direction is considered to be a large format tile. This includes 12×24, 6×24, 16×16, 24×24, 24×48, and many other sizes. [3]
Yes, 12×24 tiles are very commonly installed in bathrooms of all sizes.
A 1/2×1/2 inch square notch trowel is a great trowel for installing 12×24 tiles.
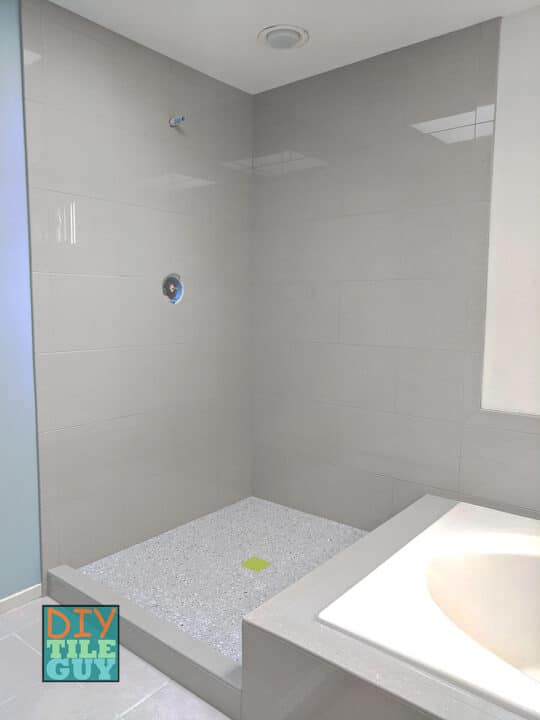
Large format tile can be used on a shower floor including curbless showers. Typically, these are used in conjunction with a linear drain or are “envelope cut” to slope towards a center drain.
One thing to keep in mind is that slip resistance is a primary consideration. You want a Dynamic Coefficient of Friction (DCOF) rating of 0.42 or better. [4]
Larger tiles are more difficult to handle, take longer to cut, and take more time to install. Therefore they will be a more expensive choice than smaller format tiles.
References
- https://www.tileletter.com/why-do-manufacturers-require-a-33-offset-brick-pattern/
- https://www.tcnatile.com/images/pdfs/Rectangular%20Tiles%20-%20How%20to%20Offset%20Certain%20Installation%20Challenges.pdf
- https://www.custombuildingproducts.com/wp-content/uploads/2021/08/lft_faq.pdf
- https://www.daltile.com/how-to/how-to-choose-the-right-tile/floor-tile
