Hexagon tiles are as popular as ever and they look great! But you should know a few things before undertaking a tile installation project that features these unique shapes.
This post covers three aspects of installing hex tiles. These are:
- Orientation
- Very general layout
- A cutting tip
These three tips will get you started and applies to both standard hex tiles and elongated hexagon tiles. However, the cutting tip in #1 would not apply to hexagon tiles on sheets.
Let’s get to it!
Estimated reading time: 5 minutes

A Technique for Cutting Hex Tile
First, let’s start with what I consider the most helpful tip in this post. How to square up a hex tile to cut it accurately.
As long as you can put the flat side of the tile on the cart or fence then cutting hexagon tile isn’t so bad.
But what if you have to cut it the other way with the point towards the fence? Then what?
Here’s a quick tip to get around that problem and be able to angle your hex tile so that it squares up properly.
1 minute 1 minute
How to Accurately Cut Hexagon Tile
- Line up a full hex tile on the flat side
Take one full tile and consider it a sacrifice
- You are going to cut off the point of the tile
It’s important that you make an accurate cut that is point-to-point.
- Cut the tile carefully, point-to-point
- Use the point to orient the next tile
Take the point that you just cut off and use it to align the next hexagon tile next to it.
This will give it the proper angle - Cut your remaining hex tiles as desired
You can use the cut-off pointed piece along your sliding cart, fence, or even with a speed square to align your hexagon tile at the proper angle.

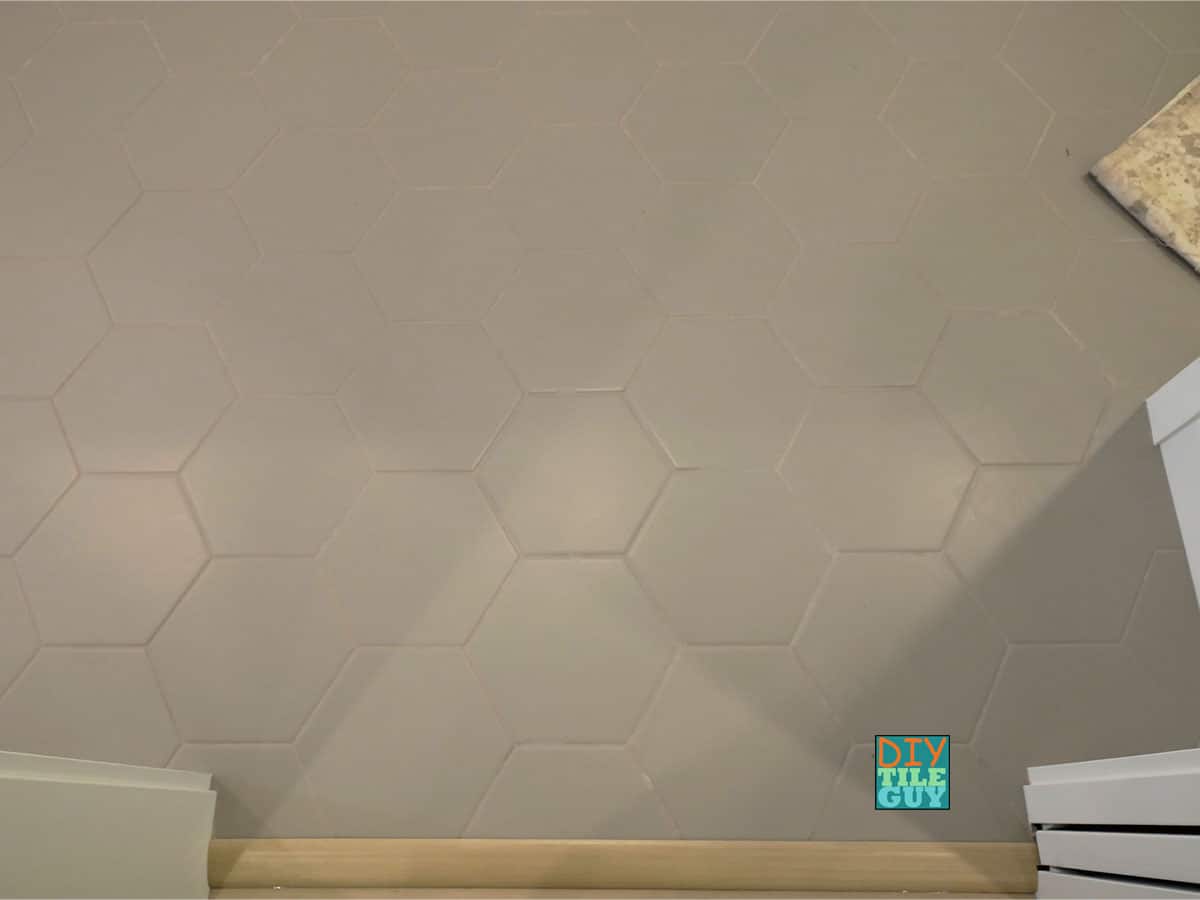
Which Orientation for Hexagon Tiles? Flats or Points Up?
I’m going to put the spoiler right at the beginning: There is no correct way.
If you find that one orientation works better than the other then that’s the way they should be oriented.
However, hexagon tiles can typically be installed with either orientation. So which way do you choose?
I had a designer describe to me once that installing hex tile with the flat side ‘up’ looked “hexier”. (This was her word).
Further, I happen to agree.
So, if you find yourself not knowing which way to orient the hex tile in your room, go for the “hexier” choice: put the flat side up.
Walls vs Floors
On walls, it’s pretty obvious which way is up. However, with floors, it’s not quite as clear.
Usually, I will stand in the doorway and orient the hexagon tile so the flat side is ‘up’ from this perspective.
Where Do You Start the Layout for Hexagons?
I’ve written before about how layout is largely an opinion.
Sometimes, centering is best. Other times, it makes sense to start from a particular focal point.
With hex tiles, there are two ideal ways to start. If you are going to ‘start’ from the perspective of the flat side up, then it makes sense to start with whole tiles and the alternating tile would be a half tile.
However, if you are starting from ‘points up’ then the way you want to do it is to cut off the point.
That way, you’ll be using the largest portion of the tiles to start rather than fitting small points underneath the tiles.
A Bit More Challenging
Installing, laying out, and cutting hex tiles can make for a bit more challenging of an installation. Hopefully, these 3 tips will get you started on the right track.
Questions? What didn’t I cover in this post? Let me know in the comments below.
For more on patterns and layouts, see my post on random patterns, subway tiles, and 12×24 tiles.
Frequently Asked Questions about Hexagon Tile
What makes hexagon tile more difficult to install than normal square or rectangular tiles is that they are an odd shape so every cut is going to be different and needs to be squared up.
While you don’t need spacers for hexagon tiles they can be useful. In fact, they make spacers specifically for this application. They are a 3-way spacer.
Hex tiles to create more waste so you will need to purchase more hexagon tiles than square or rectangular tiles.
This post covers the basics of how to calculate square feet in tile. For hex, I would figure an additional 5-10% waste.
Leave a Reply