It’s 2024, and tile that looks like wood is as popular as ever. In fact, it ‘wood’ seem that the wood-look tile trend has turned into a staple in people’s homes.
Really, it makes sense. After all, have hardwood floors ever gone out of style?
Porcelain wood plank tile floors don’t weather as hardwood floors do after a couple of years of water, dirt, and sand getting tracked in and out.
However, when it comes to installing wood-plank porcelain tile flooring there are some unique challenges.
Estimated reading time: 7 minutes

What is the issue with Installing Tile that Looks Like Wood?
There are basically two things that contribute to most of the frustration when installing plank tiles that look like wood.
By themselves, neither one of these is a problem. But when you combine them with wood plank tiles is when things get complicated.
The two issues are:
- Wood-look tiles are bowed.
- Offset patterns are usually desired.
1. The tiles are crowned in the center
The #1 issue with rectangular porcelain tiles is that they typically have a high center to them. Yes, these hard porcelain tiles are warped, or bowed.
This, by itself, isn’t a huge problem until you want to install these bowed plank tiles in an offset pattern, which is usually what people want.
2. Offset patterns
You see, if you choose to line up all the grout joints, then the high centers will all line up with one another, and the tile’s bend isn’t an issue.
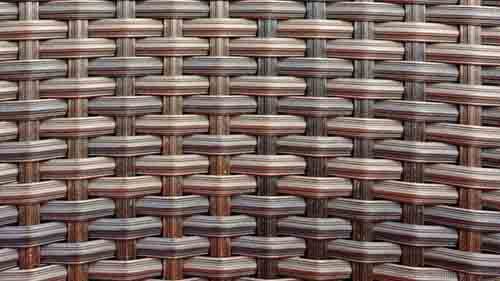
On the other hand, when you offset the tile rows, you are shifting the high center and pairing it with the lower edge of the tile in the next row. Consequently, you get a sort-of basketweave effect.
For example, a 50% offset puts the high crown of these wood-look tiles next to the lowest corners of the next row.
5 Tips for Successfully Installing Wood-Look Tile Flooring
It’s not all bad news when it comes to installing wood-look tile. In fact, here are 5 tips to put you on the road to success.
1. 33% offset pattern (or less)
As mentioned above, a 50% offset is the worst possible offset pattern that you can use if you have bowed tile and are concerned about getting them flat.
Further, many tile manufacturers recommend, or even require, an offset pattern that is no more than 33%. In other words, a maximum offset of 1/3rd of a tile.
For example, on a 12×24 inch tile, the offset would be 8-inches. So, every third row would repeat.
Wood Tile and Random offset patterns
With tile that looks like wood, you want to mimic that random offset that you see with wood floors.
The good news is that a 33% offset, or less, is very achievable with a random tile pattern.
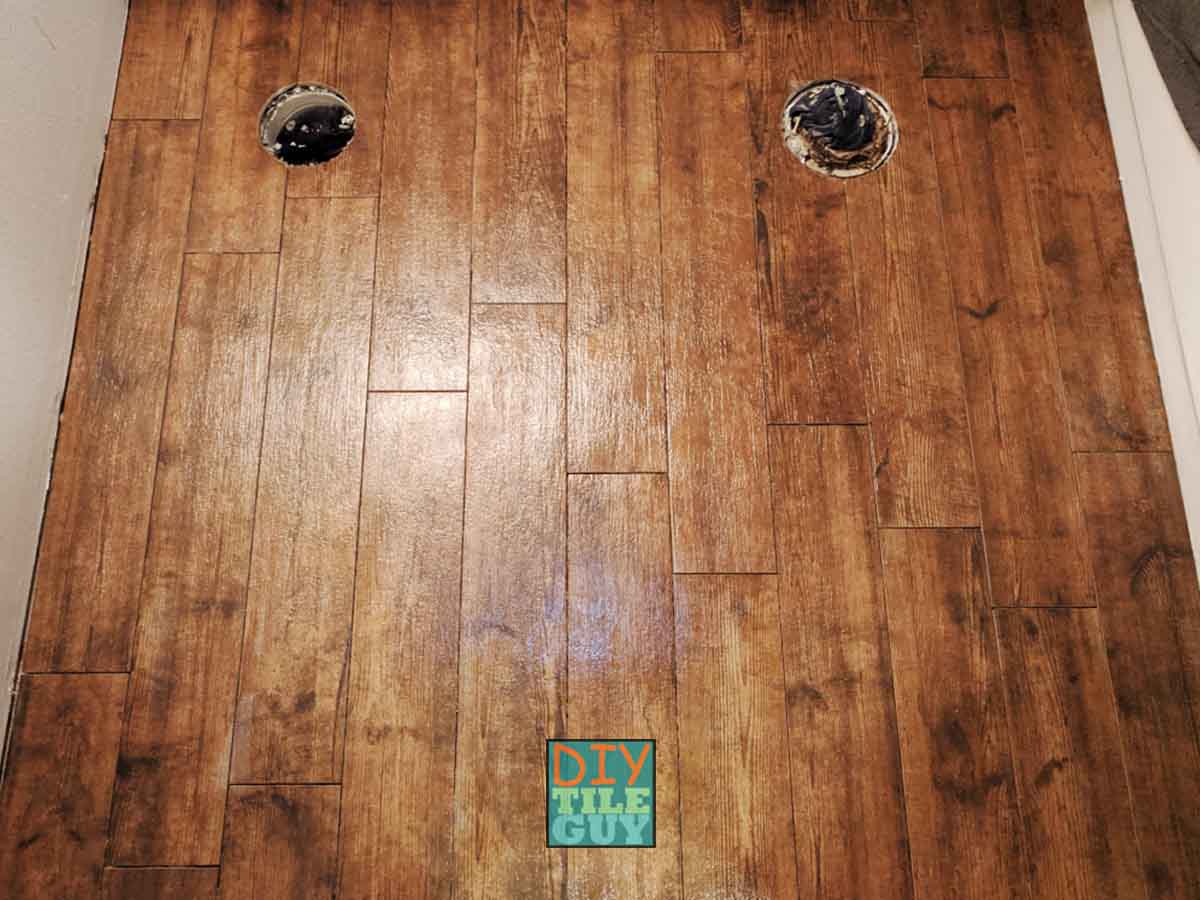
2. Exceptionally flat floors
The second tip to getting a flat wood-look tile installation is to have your tile underlayment flat, to begin with.
Industry standards dictate your floor to deviate no more than 1/8 inch in 10 feet. That’s really flat.
This means that you will probably have to do some extra preparation work on your floor. One option would be to pour self-leveling underlayment down first. Another is to use a floor patching product to flatten it out.
Whatever you end up deciding, the rule of thumb is: The flatter the substrate, the easier the tiling.
3. Use LFT mortars
Thirdly, you don’t want to make the mistake of using the wrong thinset mortar. It’s important to use the correct thinset that will properly hold and support these larger tiles.
Since these wood plank tiles are typically 24, 36, and 48-inches or larger this means that they are in the large format tile category.
Consequently, make sure that you use an LFT mortar, LHT mortar, or that it is designated, in some way, as being able to support large and heavy tile.
Additionally, LFT mortars need to be applied with the proper trowel size to be effective.
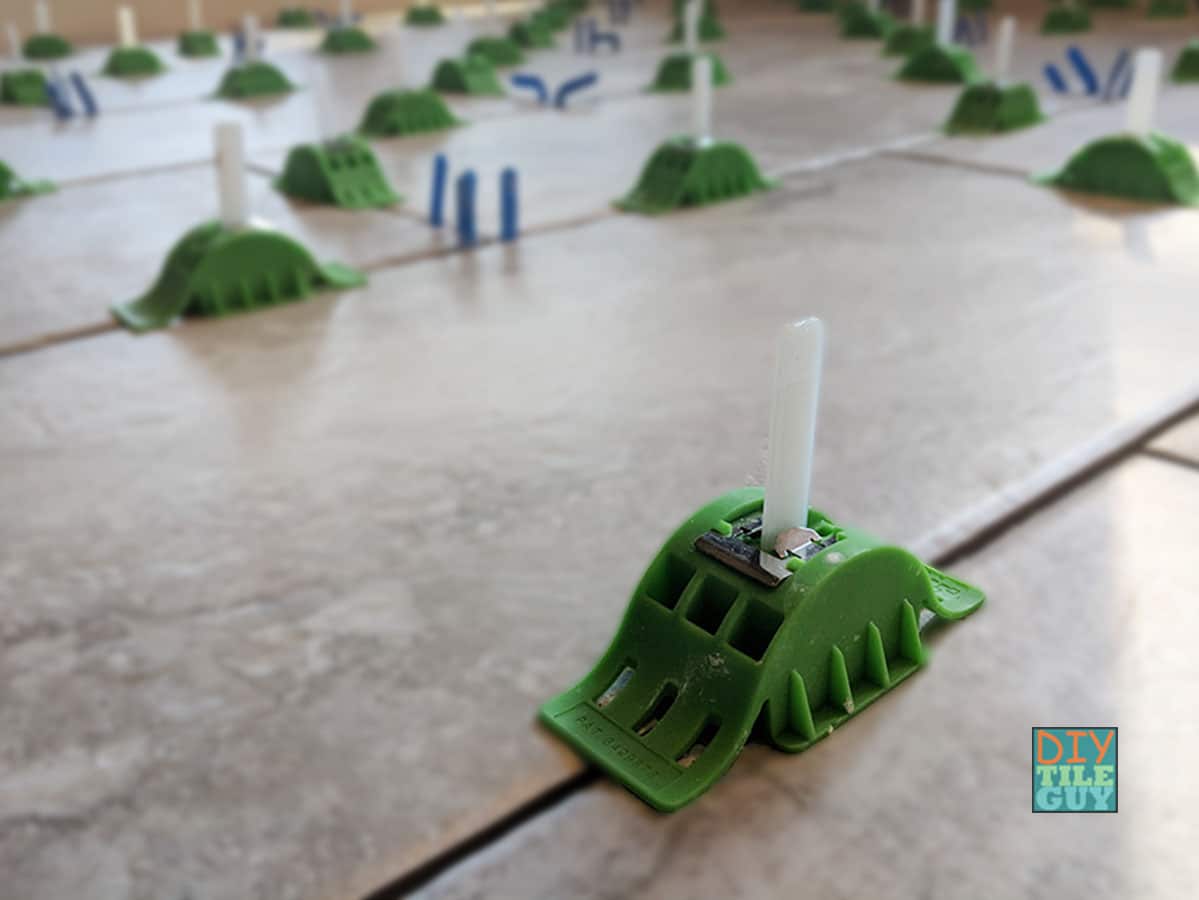
4. Tile leveling systems
Leveling clips can assist you in installing a large format tile. However, it should be noted that they are not magic tools and they are not an excuse to not have a flat floor.
Additionally, some people find them helpful and they can even take out a minor amount of flexing in the rectangular tiles.
There are several types of tile leveling systems on the market to choose from and they have varying price points and degrees of success.
5. How to start laying your wood plank tiles
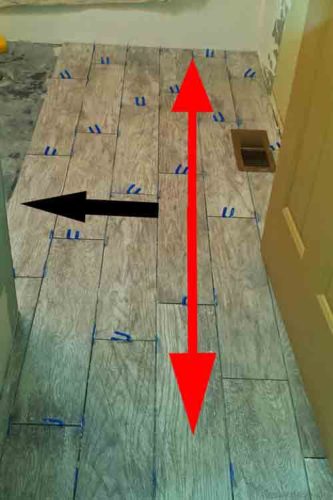
For the fifth point, I personally find it helpful to run a couple of rows across before you start to work your way down.
What this means is that you will run 1-3 rows across and make sure they are perfectly flat. You do this by putting a straight edge across and reinstalling the tiles until those first rows are perfectly flat under your straight edge.
From there, simply come off the flat rows and install row after row until complete. You will have to check it with a straight edge again every few rows but this seems to work well.
Grout Joints with Wood Tile Flooring
So far, I haven’t mentioned grout joints but I know people are going to ask about them.
In general:
- Wider grout joints help take the flatness imperfections out of porcelain plank tiles.
- Smaller and tighter joints will better mimic that wood floor look.
You definitely need to have a grout joint in between tile. How wide of a grout joint isn’t a simple answer. Using a grout color that blends with the tile will help the wood-look tile to resemble a real hardwood floor.
See the FAQ section below for more information on grout joint size.
Frequently Asked Questions about Wood-Look Tile
Wood-look tile definitely gets grouted and should have a grout joint. See the subheading on grout joints in the post for more information
Porcelain tiles are often times not flat and will have bow, bend, or crown in the center.
According to 2022 Tile Trends, the wood-look tile trend is still very much in vogue.
No. Tile industry standards require a grout joint in every tile installation, including tile that looks like wood.
A 1/4 x 1/2 inch U-notch trowel is a great choice for porcelain plank tiles. The 1/2×1/2 square notch trowel is no longer recommended for large format tiles.
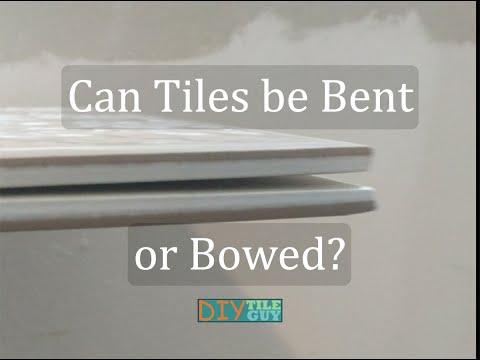
Yes, porcelain tiles can have a small amount of flex to them. Longer planks will have more flex than smaller tiles.
Tiles can bow, or curve, in the manufacturing process. It’s caused by the ends cooling at a different rate than the center.
