In this post we cover:
- Situations where you would consider modifications
- A technique to check if your foam niche is still waterproof
- Method and tools to customize a foam shower niche
- Staying out of trouble
Keep in mind, you can always add some snazzy corner shelves instead of one of these niches. No? Well, read on!
Estimated reading time: 6 minutes
The Ultimate Guide to Building a Preformed Recessed Shower Niche
Make sure to read my post on 10 things to consider before installing your recessed shampoo shower niche (and 2 things not to do).
Part 3: How to Modify your Recessed Foam Shower Niche
Otherwise known as How to Void the Warranty on your Shower Niche
In part 1 and part 2 of this guide, I talk about how to layout and install a foam shower niche.
But not everything always goes perfectly. Tile doesn’t always lay out perfectly centered in a stud bay and if it does it may not be the location that you would like.
Sometimes you’re close to making it work but not quite.
Other niche building posts:
This post will give you a couple of examples where I’ve made modifications to the niches. It covers why it was done and how I did it.
Please keep in mind that this isn’t recommended and no manufacturer will approve of this process. Proceed at your own risk. :-)
Situation 1: The foam shower niche sticks out past the wall too far
It’s not unusual for the niche to want to stick out slightly from the wall. After all a lot of backer board these days is 7/16 inch- thinner than the niches.
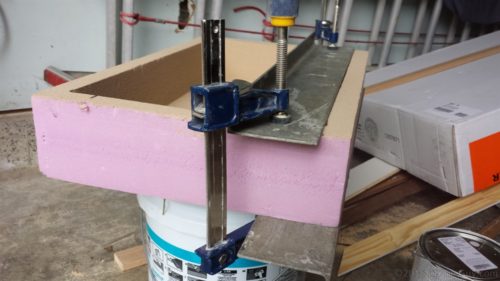
In the previous post, I had a photo of a technique that I use to keep the niche in place until it dries.
But sometimes a little bit further customization is in order. That’s where this technique comes in.
I personally have never tried this but it’s mainly because I’ve never thought of doing this. But it’s a clever way to make your foam shower niche work in the space.
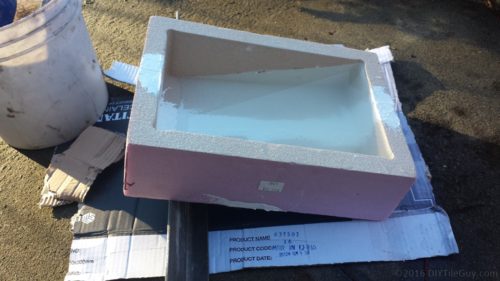
Situation 2: The niche needs to move less than one inch
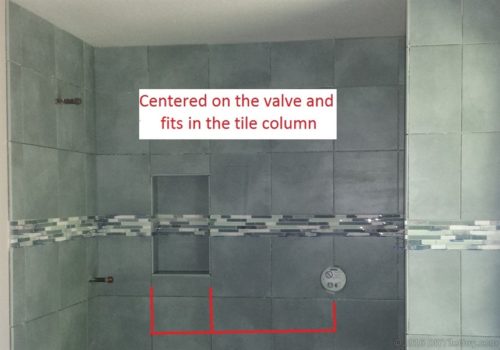
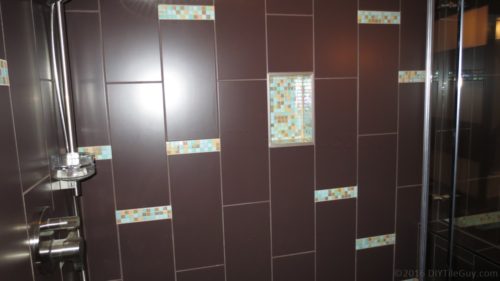
I recently had a project where I wanted to center the tile on the shower faucet. But the problem with this is that the niche wasn’t going to fit a row of tile perfectly.
In this case, it was about 1/4 inch off. So this meant that the tile would be 1/4 inch off-center of the shower faucet. So what did I do?
I cut the end of the foam niche off.
In this case, cutting off the 1/4 inch from the edge allowed me to just enough room to move the niche in the stud bay and have it work with the tile layout.
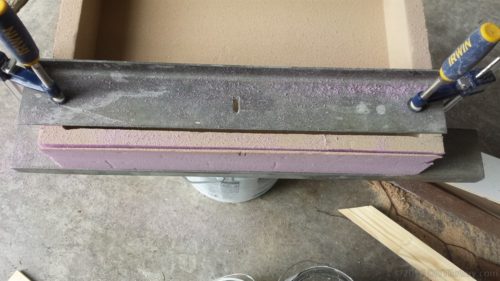
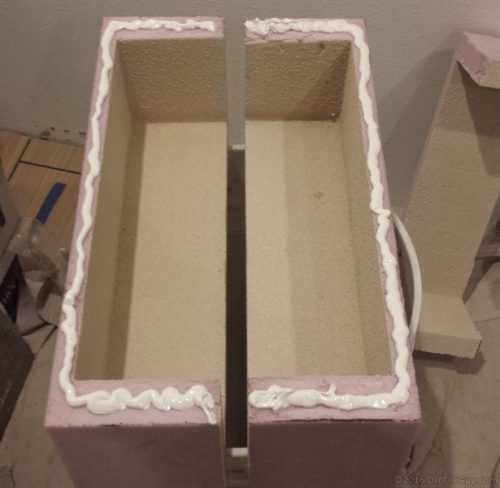
Situation 3: You need to make the niche more narrow
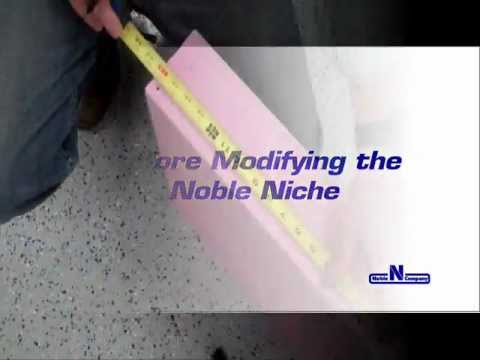
I had a project that was using 10-inch wide tile. This meant that if I wanted to use a premade foam niche, it was going to have to be modified.
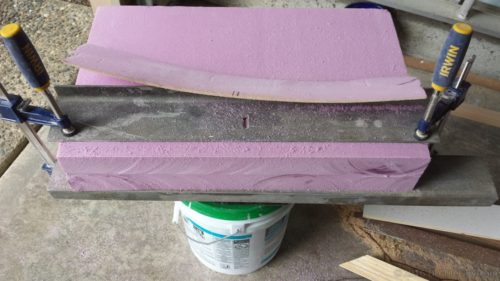
Here’s what I did: I cut a piece out of the middle of the niche using a straightedge like shown above.
Then I used the foam board sealant to reattach the two halves back together.
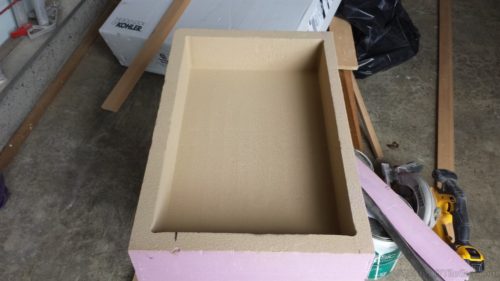
Conclusion
That covers two ways to modify a pre-made foam niche to make it work for the tile layout. This way, no studs need to be cut.
However, if you do need to cut the studs, that’s covered in the next post.
Leave a Reply