Silicone Caulk: How to Caulk a Shower or Bathtub
The problem: ‘Caulking’ with 100% silicone sealant can be quite frustrating.
First of all, it can create a huge mess, be almost impossible to clean up, and make your shower look uglier than before you started.
Latex, acrylic, and siliconized caulks aren’t the answer either as they are ineffective, don’t last, and can turn into mold. Read more about caulk vs silicone.
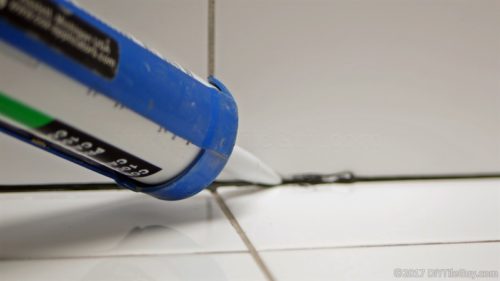
Finally, relief is here! This post will share a simple technique to get good-looking and clean caulk joints that you would swear were done by a professional. Except that professional is you!
This post contains affiliate links. The site owner may earn a commission should you click on an affiliate link and make a purchase. Read more
Caulking Tools Needed:
- caulk gun
- paper towels
- clean rag
- denatured alcohol
- empty spray bottle
- 1/4 inch foam backer rod
- Caulking tool (optional- can be your fingers)
Fill the spray bottle with denatured alcohol and proceed to the first step
How to caulk a bathtub or shower
Clean area that will be caulked
Spray some alcohol on a rag and wipe the area down that will receive the caulk.
You want to make sure that there’s a clean and dry surface for the silicone to adhere to. Because the alcohol evaporates quickly you shouldn’t have to wait long.
Backer rod:
Insert the backer rod into the gap.
The backer rod helps the performance of the caulk joint. Firstly, if you can get the backer rod in the gap then that indicates the joint is cleaned out which is a good thing.
Also, it keeps the silicone from being too deep and adhering to the back of the joint which is another plus.
The One Thing Every Tile Installation Needs: Movement Joints
I usually use a putty knife to stuff the foam backer rod in the joint but other tools will work as well. Mainly what you want to accomplish is to get the foam in the joint and not have it stick out.
Apply the silicone:
Using the caulk gun put a bead of silicone in the joint. Because you’ll be spraying the alcohol you want to make sure that the joint is well filled with no gaps.
Spray alcohol over the silicone sealant:
With your spray bottle spray denatured alcohol right over the caulk joint.
Tool the joint
The concept is that silicone won’t adhere to wherever the spray is. Consequently, when you tool the joint the silicone caulk shouldn’t make a big mess.
For tooling, I usually just use my fingers but they do make specific tools for just for this task.
However, you could use your own DIY tools as well. For instance, I’ve used popsicle sticks before with good success.
Wipe with a rag and alcohol
Spray some of the denatured alcohol on a rag and detail the joint as needed.
Corners
When it comes to a 3-sided corner I will usually caulk all three joints at once. If you did just one joint you’ll get alcohol into the other two if you spray the corner.
So I usually just caulk a 6-inch, or so, bead out of all three joints and meet up with them later.
Other silicone caulk tips:
Start at the bottom
Because you are spraying the alcohol it’s going to want to run downward.
Consequently, this presents a problem if you haven’t already done the joints below because the alcohol will run into the open joint and keep the silicone from sticking.
As a result, you’ll want to start at the bottom and work your way up.
Except when caulking around bathtubs
If you plan on caulking vertical wall corners and the tub rim at the same time then I don’t recommend doing the tub rim first. The reason being is that the tub tends to move.
This matters because if you caulk the tub rim then climb into the tub to reach the wall corners you will be flexing the fresh silicone caulk around the rim. It’s the same thing with a fiberglass shower base.
Due to this I recommend caulking the vertical wall joints first and then caulk the tub rim when you finish. Possibly you’ll have to wait a bit for the tub rim to dry before caulking this area.
That’s the crash course. Hopefully, this will be enough to convince you to leave the latex and siliconized caulks behind and install 100% colored silicone around your tile.

