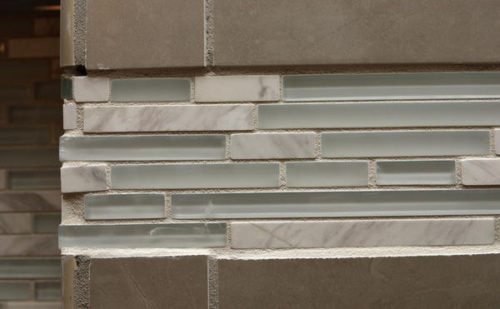
Getting your mosaic and glass tile accent strips to be flush and flat with the surrounding tile can be difficult unless you know a trick for it.
Here’s a technique for building up the thinner decorative tile so that it’s even with the thicker tile without creating a huge mess of thinset oozing out of the grout joints.
Estimated reading time: 5 minutes
How to install tile of different thicknesses flush, flat, and even with each other
But first, you might want to try this
Roger (The Floor Elf) has a technique posted on his site that accomplishes the same thing but in a different way.
The method that he showcases is easier, but it doesn’t work in every situation. I encourage you to check out his post Setting different thicknesses of tile for inserts.

See my post on the Proper Placement Height of a Tile Accent in a Shower
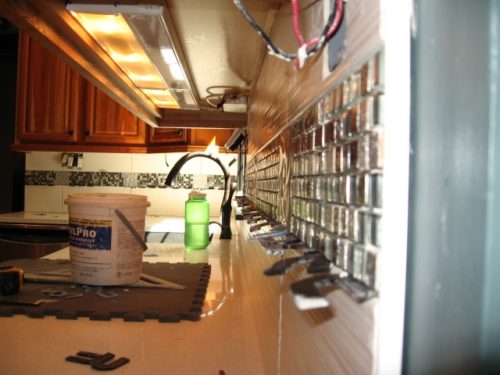
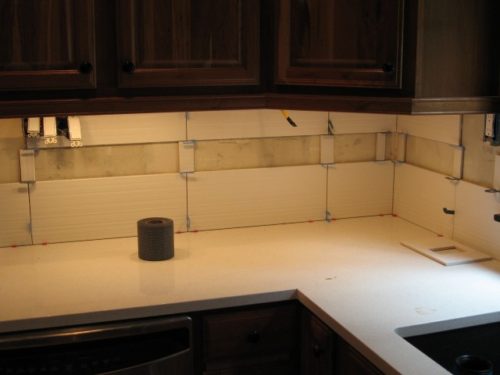
1. First, install the field tile with spacers
I cut spacers out of scrap tile that is the exact same size as the glass accents, so I can install the wall tile first.
Once the wall tile is dry the spacers are pulled out. I put the plastic blue tile spacers in where the grout joints will go on the top and bottom. (See photos below)
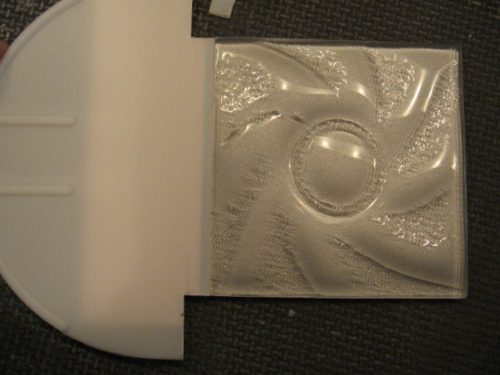
2. Create your very own custom tile tool
Get yourself a plastic putty knife that is wider than the decorative accent band and cut it so that it will trowel slightly deeper (no more than 1/16th of an inch deeper) than your mosaic accent tile.
3. Make the channel the correct depth
Tape off both sides of the accent channel and fill it with thinset.
Use your putty knife to trowel the mortar to the right depth paying special attention to the corners and the ends.
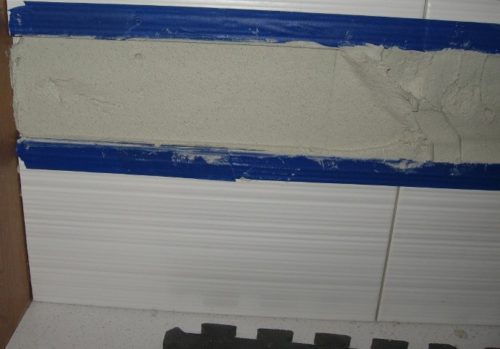
Make sure to run it on both the top and bottom of the channel. Keep clean water and a sponge to make sure things stay clean.
4. Install the mosaic or glass tile accent band
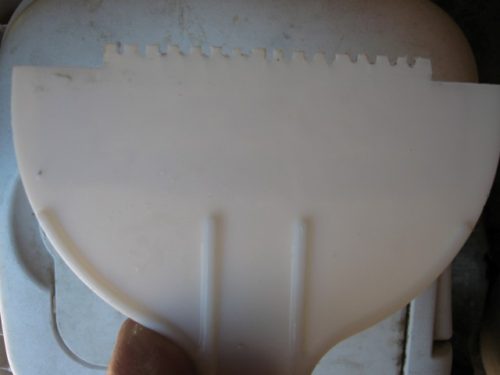
Take your same putty knife and turn it into a notched trowel.
I used a 1/8″ x 1/8″ notch trowel as a template, marked out the notches with a sharpie, and cut the notches with my tile saw.
Then trowel more thinset into the channel using your plastic notch trowel and install the mosaic tile. I use a grout float to beat it into place.
Then use spacers to center it in the channel.
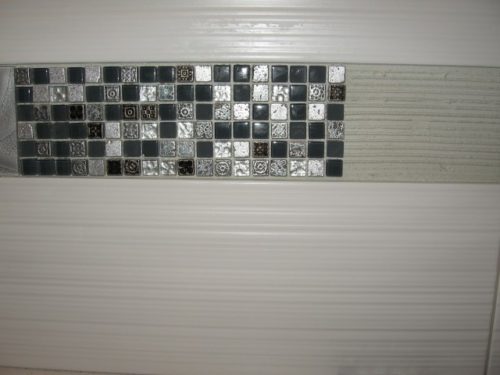
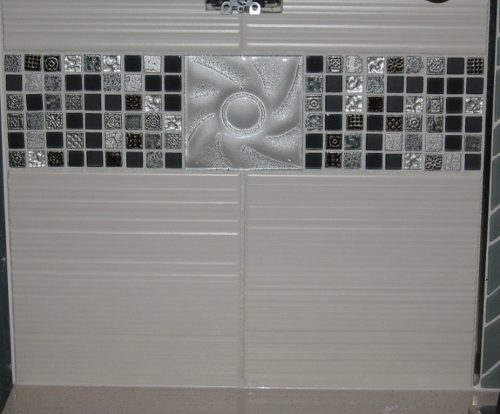
There’s more than one method to get your mosaic tile accent band flush with the rest of the wall tile. Although this method is time-consuming I feel it creates the nicest finished product.
Please let me know if you have any questions.